Do these 6 essential things after your home renovation

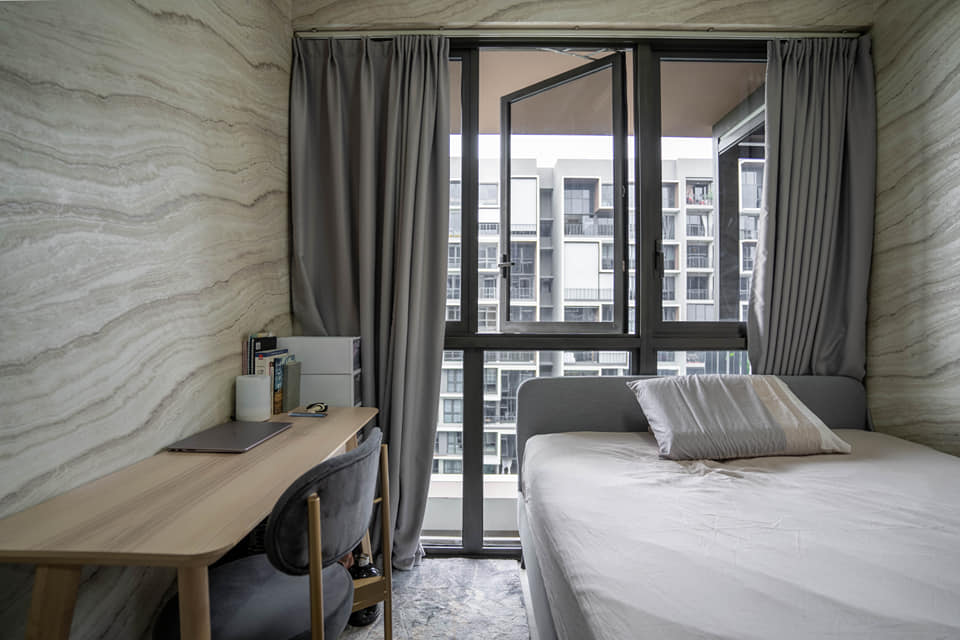
PHOTO: Unsplash
Once the dust has settled and the last of your renovation debris cleared, your home is finally ready for moving in .
But before packing your bags, you will want to make sure everything is in order so that you can settle in quickly and smoothly.
For a fuss-free transition into your new home, here are 6 things to do post-renovation.
Most interior designers will do a final walk-through with you before handing over your home.
This allows you to point out slip-ups that require rectification or imperfections that you want touch-ups for. If you went the DIY route for your home renovation, request a final walk-through with your main contractor.

Here’s a quick checklist to see what you should be looking out for during the walk-through:
List down the issues that need to be rectified and make sure you follow through with your interior designer or contractor on the issues before doing the final payment.
Renovation works often emit harmful chemicals and fumes, also known as Volatile Organic Compounds (VOCs), which continue to linger even post-renovation.
These arise from paint and other building materials used such as adhesives and sealants during the renovation.
They produce pollutants that lead to poor indoor air quality, which are not only unpleasant but can cause respiratory issues, headaches or skin allergies. It’s therefore important to get rid of as much of these pollutants before moving in.
One of the best ways to do so is to ventilate your home. Open up all your windows and doors to let air flow through. Leave your cabinets and wardrobes opened, as the products used to build your carpentry often release harmful fumes.
If you have an air purifier with a HEPA filter, set it running for a full day or two to absorb any harmful pollutants.
For plant-lovers, consider moving in your plants early as plants are known to help purify your air and remove toxins in the environment.
To get rid of the unpleasant smells, go the natural route with a stovetop potpourri. Simmer a pot of water on the stove and throw in your favourite combination of herbs or fruits.
Cinnamon and citrus fruits like oranges and lemons are particularly effective. Consider leaving bowls of coffee grounds around your home to absorb any lingering smells.
While your interior designer or contractor might have done a general clean-up post-renovation or a chemical wash to remove stubborn stains on tiles, you will want to do a more thorough cleaning before moving in.
You can consider engaging a professional (be sure to budget for that), which will not only make your job easier, but will also likely do a more comprehensive job.
If you are going the DIY route to save some money, here’s a step-by-step of what to clean:
Step One: Do a thorough sweep and vacuum of all flooring.
Step Two: Wipe down (with a dry cloth or one attached to a broom) all surfaces, including walls, ceilings, windows, doors and the insides of cabinets and wardrobes.
Don’t forget to wipe down hidden crevices, internal hardware, knobs, handles, faucets and taps.
Step Three: Using a mop or a damp cloth and some disinfectant or cleaning solution, clean your flooring and surfaces again.
Step Four: Let appliances run at least one cycle before using them. For the kitchen hood, you may wish to remove and wash the filters.
Step Five: Clean lighting and ceiling fixtures as well the surfaces of your air-conditioning units. Consider washing your air-conditioning filters if they were not covered properly during the renovation.
Step Six: Vacuum any existing upholstery, curtains or carpets. If they were not protected during the renovation, consider sending them for a deep clean.
Because many of us can’t live without Internet, getting your home WI-FI network up and running before you move in makes it easier to settle into your home quickly.
It will also make it more convenient to integrate any smart home devices you decide to include in your home.

When choosing a position for your router, make sure it’s centrally located or positioned at a spot where you use the WI-FI the most.
Don’t place the router in front of obstructions like inside a cabinet or in front of a wall as that will weaken your WI-FI signal.
If you have a large home or one that has an awkward layout and you wish to boost your WI-FI signal around the house, consider getting mesh routers.
These routers create a large WI-FI zone using two or more devices communicating with each other, lending more coverage and a stronger signal.
They can be placed anywhere in the home, enlivening the coverage even in common dead spots.
You would have likely purchased a lot of new items and appliances for your new home, each with various dates of warranties.
Register for them as soon as possible and keep track of their warranty periods so you won’t have to splash out on extra cash if something breaks down.
List down contact numbers and emails so you will know who to reach out for immediately.

Organise everything in a single drawer and keep them together with things like your home insurance and any home-related documentation.
Don’t forget to include your original renovation contract as renovation works would also have been covered under a warranty period.
Keep track also of warranties provided by HDB if you are living in public housing or by your condo developer if you stay in private property.
Learning proper home maintenance ensures your home will still look and feel beautiful after a long time. And you will want to get it right from the start.
Pay particular attention to the following in terms of maintenance and care:
Natural materials: Natural materials like marble and wood are just a bit more finicky and require a bit more care. Pick up tips from contractors or surface suppliers on how to properly care for them.
You will also want to pay special attention to the type of cloth and cleaning agent you use. With hardwood flooring, avoid using a mop that is too wet.
Find out how regularly your natural countertop or flooring needs to be resealed.
Appliances: Learn the proper way to use your appliances. Get the salesperson to do a demo, read through manuals or check out how-to videos online.
Appliances like your washing machine and kitchen hoods should also be regularly deep-cleaned. Check how often and how this should be done.
Upholstery, curtains and carpets: Depending on the material, these should be handled differently. Check labels and err on the side of caution always.
Lace curtains will unlikely be able to be machine-washed for instance, while natural fibre rugs like jute can only handle regular vacuuming.
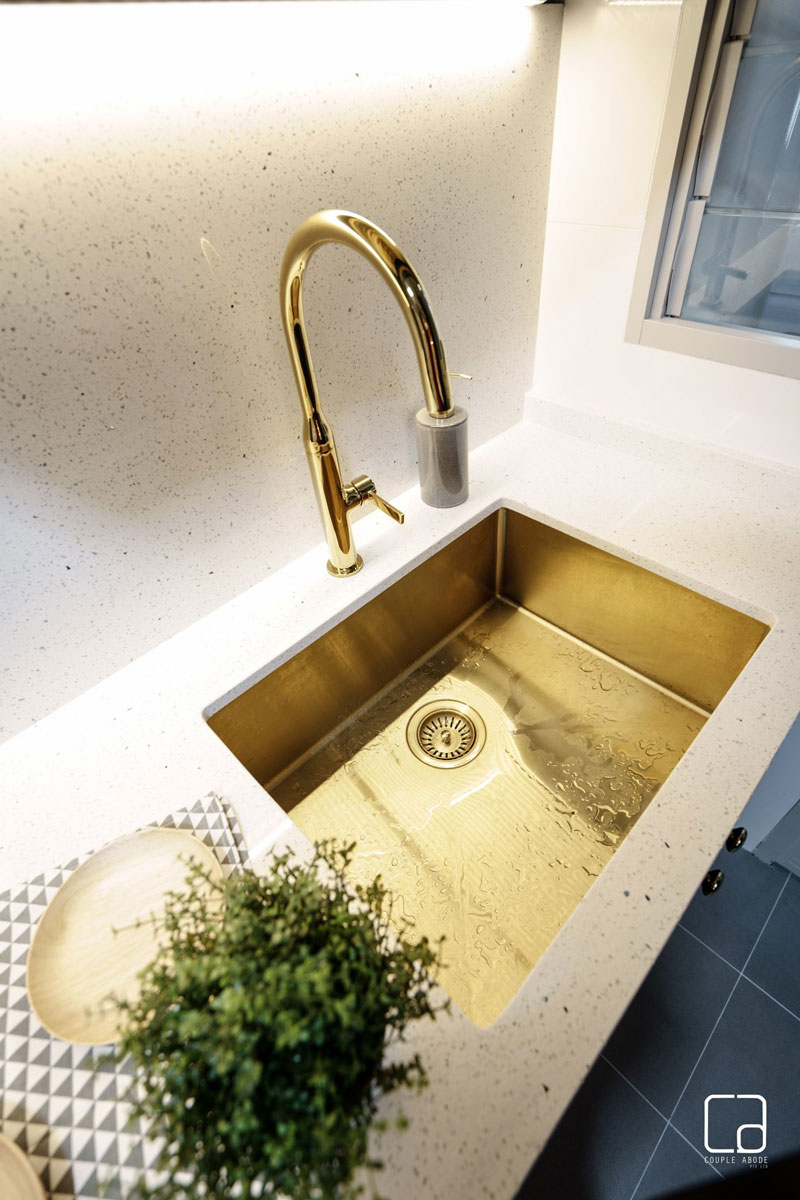
Metal fixtures: Never use abrasive cloths or scrubs on metal fixtures. In terms of cleaning, not all metals can withstand the same amount of cleaning.
Fixtures made of chrome or stainless steel are relatively easy to clean with warm water and mild soap. Polish brass fixtures with a combination of lemon juice and baking soda to form a soft paste.
Copper and bronze fixtures tend to develop a patina over time.
Unless you like the look, consider mixing equal parts of flour and salt and a few drops of white vinegar to get rid of the mineral build-up.
This article was first published in Renonation.